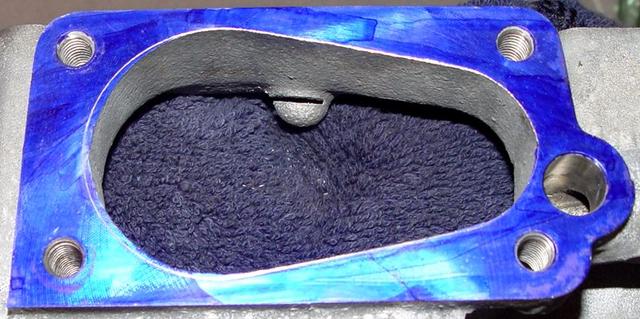
This pic is of the little "nub" after almost sawing completely off. Only tool used is a hacksaw blade wrapped with a rag. Yes there are hacksaw blade holders but I've used this method for years and with great results. I prefer it to a blade holder and it's a LOT cheaper.
It's faster, more efficient than grinding it all the way down.
In the next few hours-to-a day I will be grinding this flush, filling with epoxy then sanding smooth. This cut didn't get into the threaded hole but due to a depth measurement I took I'm expecting that the grinding will. Which means we'll have tons of threaded depth remaining to get a good torque of that bold when it comes time without going to a significantly shorter bolt. I'll pass along the new bolt specs when I'm done with this facet.
After that I'll start grinding the outline of the gasket in the Prussian Blue dye. Once all necessary grinding is done I'll set about sanding/smoothing the flange I.D. walls to remove the sand-cast roughness you see in this pic.