Part 2: Airbox workshop, or this is where
I send everyone running for the hills...
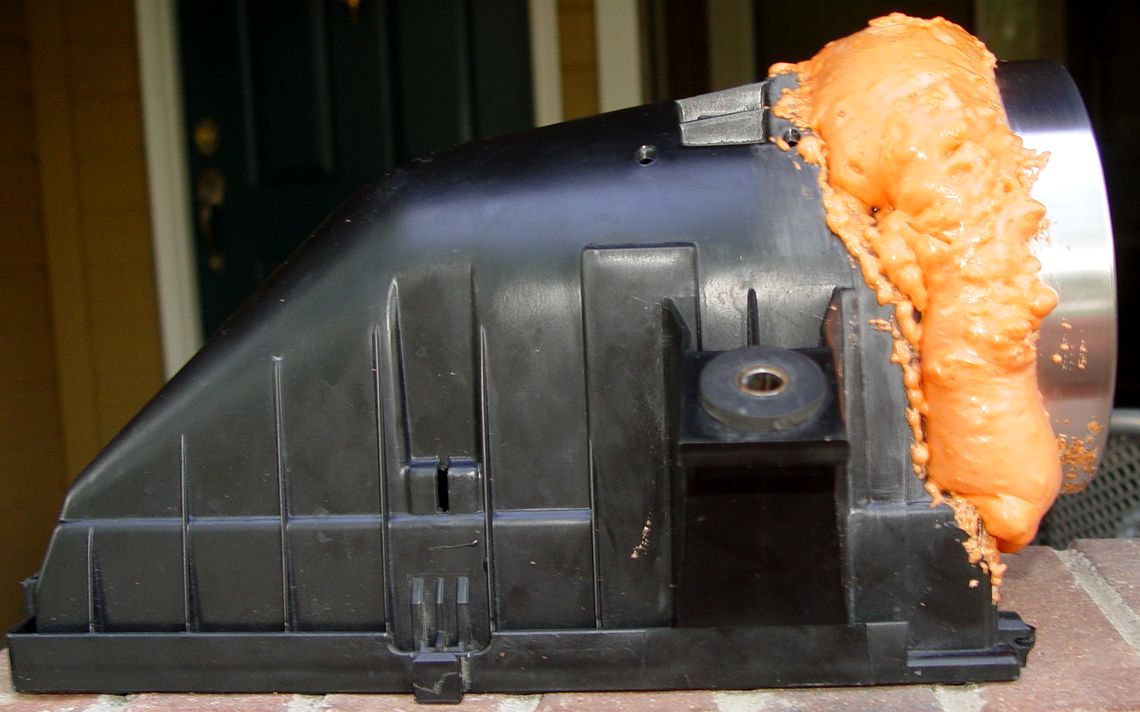
wondering why in the hell they'd EVER wanna participate in anything this crudely done. Well, while it's true this airbox is currently uglier than a bucket of worms it is surprisingly easy to now make it look good again. All of that orange urethane foam that was used on the inside/outside of the above airbox weighs less than 1/4 ounce now that it's cured. And 75-80% of it will be gone once it's cut, sanded and shaped.
Part 2 of the workshop will concentrate exclusively on the aspect of getting everything to look as good as it should function.
And before you throw your hands up in the air and give up after seeing the above pic please try to stay around long enough to see the following pic of the airbox interior which looked EXACTLY like the airbox exterior above before I cleaned it up. Only took 30 minutes with a sharp, thin-blade trimming knife.
Tomorrow I'll set about cutting, shaping, profiling and contouring the above urethane foam mess into something far more presentable. But bear in mind this part of the workshop will be far and away the most time consuming as it's crucial to me this finished airbox look like something that came out of SkunkWorks once completed.
And for those that don't care about looks you could basically stop here. The VS is permanently mounted, totally sealed into the airbox. Just looks dumber than a mud fence!
Pic 2: You must remember here that this
area looked EXACTLY like the above pic...
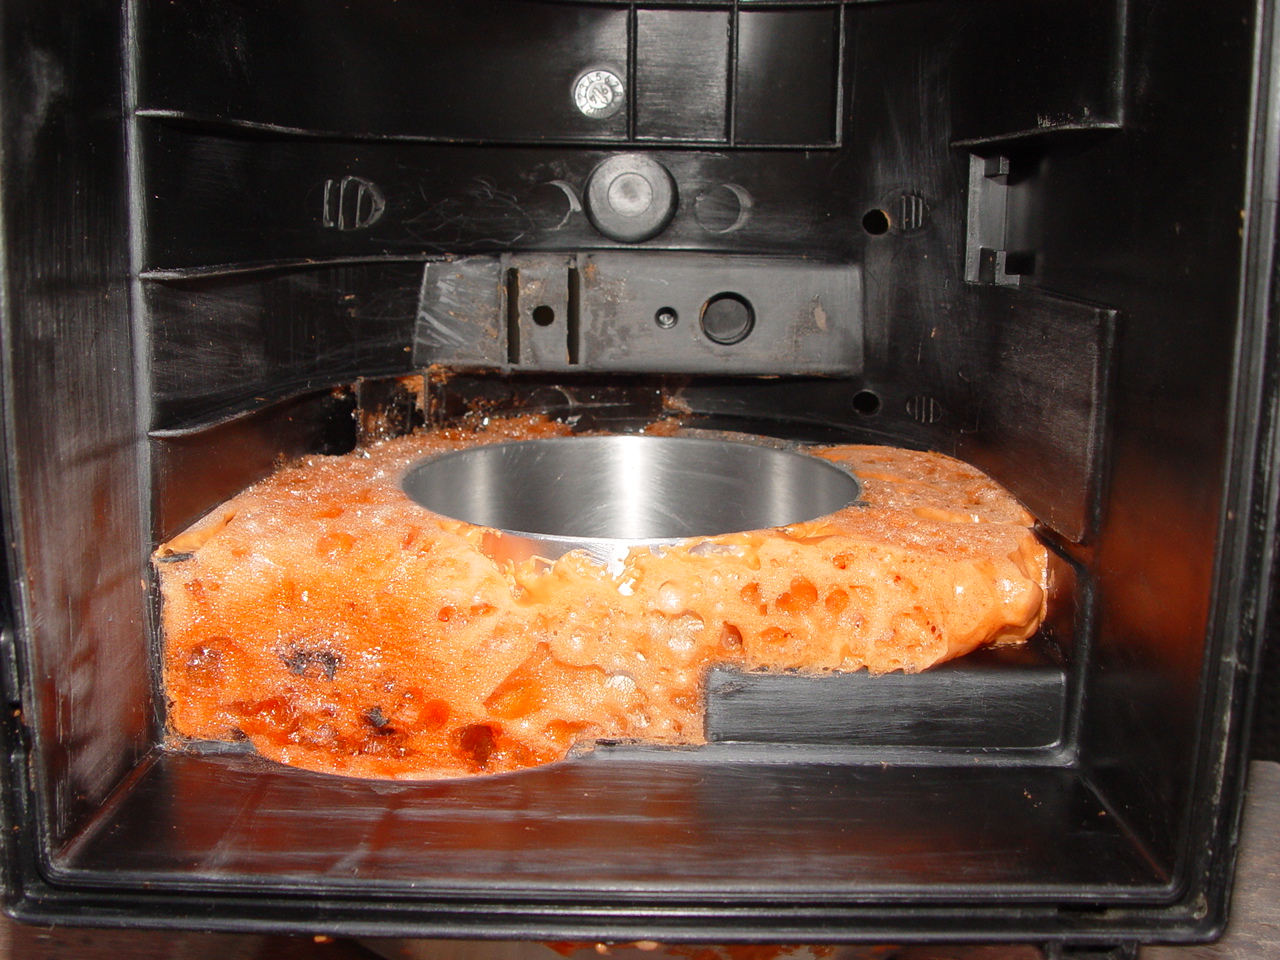
before I went to work trimming with a sharp knife.
Once interior/exterior is fully shaped/sanded I will then start to go thru the remaing foam by spreading & packing a 3M pulyurethen filler into all the remaining foam surfaces. This will pack all the bubbles in the foam and once sanded form a surface that is as smooth as the airbox walls. It will probably have to be done in 2-3 stages and this part of the workshop could easily take 10 days to 2 weeks to finish due to dreadfully long cure times of the flexible urethane sealer putty.
Once the airbox is all smoothed out, sealed, sanded and prepped I will bead-blast it inside and out then send it out for a commercial urethane bedliner product to be applied to its exterior and likely interior as well. That product will add further structural rigidity as well as sound insulation. I "may" then opt for a heat shield be applied to the exhaust manifold side using "stand-off" bolts which will further shield and insulate against heat getting inside the airbox.
Right now everything's gonna be ugly for awhile. Gimme some time and I'll turn that all around... promise!